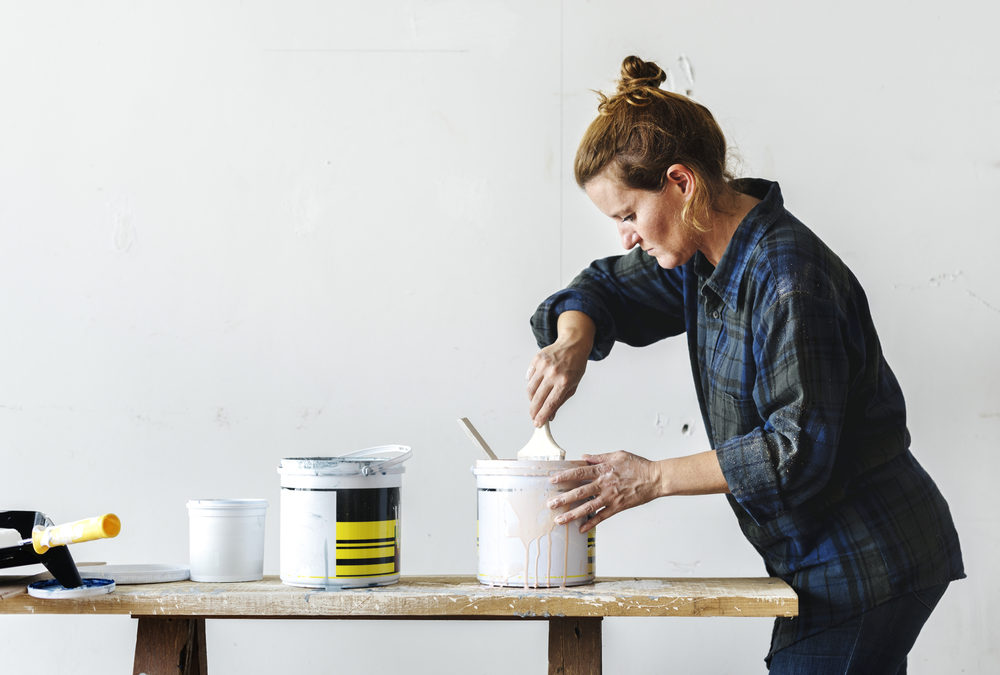
Interior painting projects are a great way to spruce up your home.
But this isn’t as simple as applying paint onto your walls—it does require a good amount of preparation and unless you are a professional painter, there are plenty of ways that this can go wrong.
So here are some handy tips and tricks for interior painting projects that can help you get that smooth finish.
While these tips will help you create a better quality painting job, keep in mind that if you are looking for a flawless finish, your best bet may be to hire a professional painter.
1. Maintain a wet edge
Everyone hates an uneven paint job.
Painters call these ugly stripes lap marks and they are caused by a buildup of paint in uneven layers, occurring when you roll over paint that is already partly dry.
In order to avoid this, you should start painting near a corner and run the roller up and down the full length of the wall, moving over slightly with each stroke.
This is called maintaining a wet edge because each stroke of your roller overlaps with the previous stroke before the paint has a chance to dry.
You can move backward when necessary if you need to even out a thick spot, fill out any missing spots, or clear up any running paint.
The most important part here is to ensure that your roller doesn’t dry out. You should be reloading it often enough so that it is always at least half-loaded.
2. Box your paints
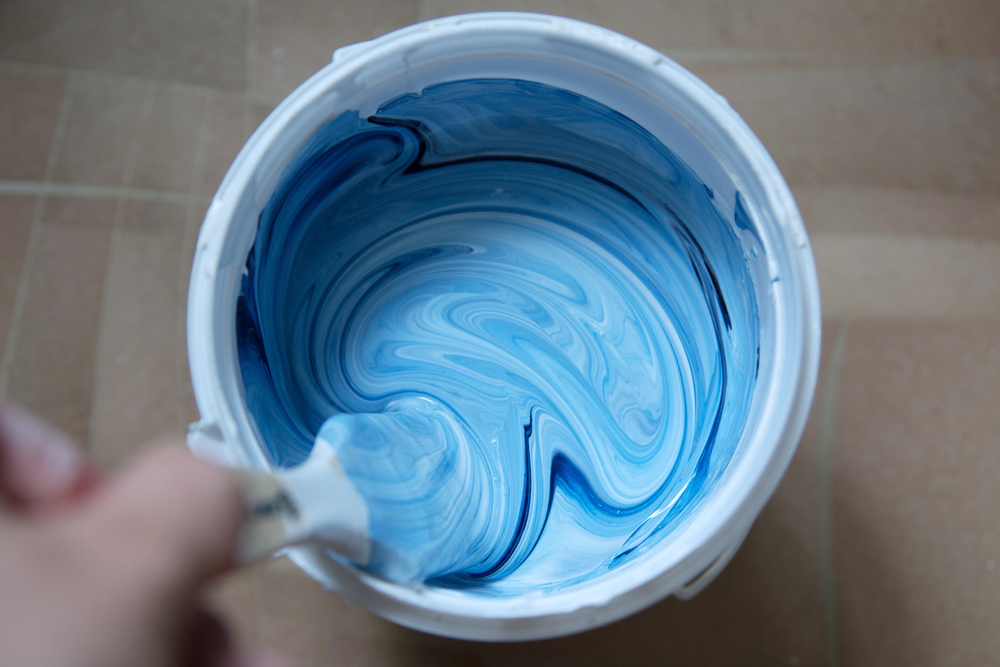
The same paint color can vary ever so slightly from one can to another. While you may not really notice it in the can, you certainly will once you open a new can in the middle of painting a wall.
This can lead to a lopsided finish once your paint is dry, so it’s best to avoid this slight color difference by mixing together different cans of the same color paints in one container to maintain uniformity. This is known as boxing your paints.
Just remember to add more paint than you think you’ll need, rather than less, because you don’t want to run out of paint midway through your painting.
3. Clean dirty surfaces
This one may seem rather obvious, but it’s an oversight that does happen so it’s worth mentioning.
Painting over dirty, oily surfaces is a sure-fire way of having your paint chip and peel off.
This is why you should always prepare your walls before painting.
You should be cleaning up any grimy areas (places like the kitchen, bathroom walls, and around your light switches are the most common offenders) with a de-glosser or heavy-duty cleaner for painting.
After the surfaces are all clean, you should fill in any nicks and sand it all smooth.
These steps help with the adhesion of new paint so you can have a smooth finish.
4. Wrap up your brush or roller
If there’s any part of the painting process that accumulates the most hatred, it’s cleaning the brushes and rollers.
Rollers in particular dry out very stiffly.
But there are measures you can take if you are going to continue your painting over some time.
All you have to do is wrap your brush or roller very tightly in a plastic bag with the paint still on it—just make sure the plastic is airtight!
This should preserve the brush or roller cover for the rest of the day or even the next day if the wrap is very tight.
You can even put this wrapped-up brush or roller in the freezer, which will allow you to preserve it indefinitely.
Allow plenty of time for the roller cover or brush to thaw when you take it out though!
5. Use a cotton drop cloth
No matter how careful you are, it is impossible to keep your floors free of paint drops.
Most people are inclined towards plastic sheets to keep their floors clean, but paint drops tend to stay wet after they fall on plastic, making it more than a little inconvenient to walk around.
Cloth drop sheets stay in place more securely, aren’t as slippery as plastic, and won’t have you dragging paint all over your home.
Make your interior painting projects simpler
There is a lot of work that goes into interior painting projects but using these tricks will help make it easier to handle.
That said, when it comes down to choosing between a professional painter vs DIY painting project, you will have to consider the limits of your own ability.
A professional will be trained to deliver a faultless finish, so if details and the quality of your interior painting matter to you, you should definitely consider hiring a professional.
Recent Comments