From the outset, cabinet painting seems like a rather straightforward task.
Many people are under the impression that all you have to do is sand and paint your cabinets to achieve that transformative new look for your kitchen.
But the reality is a little different. Cabinet painting is something that is just as complex as all your interior painting projects, which means there are just as many ways to get it wrong.
The best way to ensure that you get the best painting job is to hire professional painters and benefit from their immense knowledge and experience. But if you are looking for some practical tips on how to approach cabinetry painting, here are a few mistakes to watch out for.
Forgetting to take your cabinets apart before painting
While you are not obligated to take your cabinets apart before applying a fresh coat of paint, you will have a much easier time if you choose to disassemble them before you proceed.
This might seem like a needlessly time-consuming step, but by taking them apart, you’ll save time when it comes to prepping and painting these surfaces.
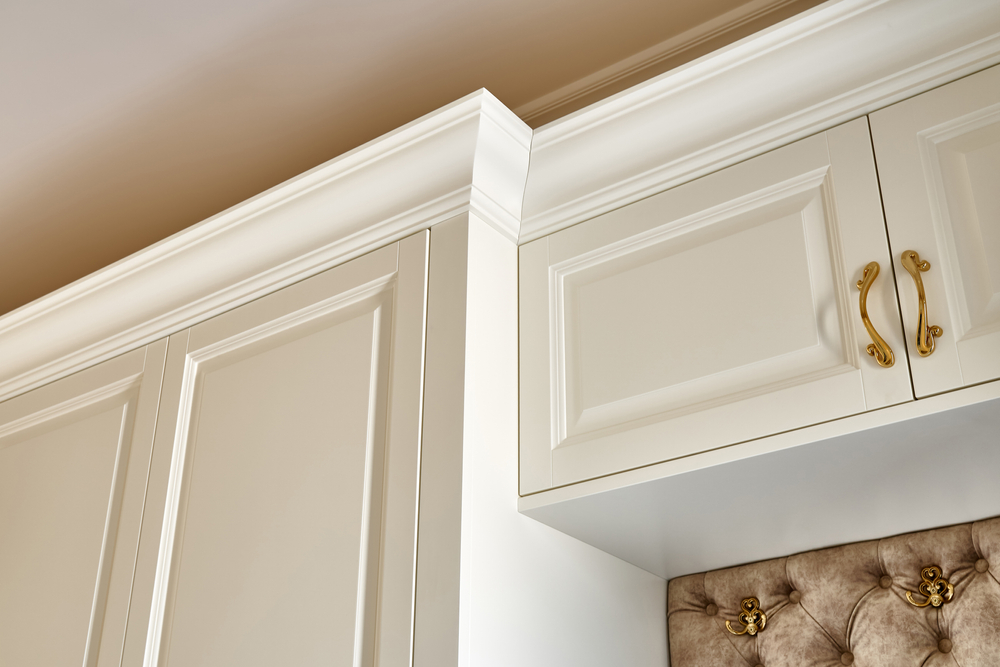
Leaving the cabinets whole also makes it much easier for you to miss certain spots and leave a mess by getting paint in places where it shouldn’t be like hinges or hardware.
Just make sure that you label all the separate pieces when you dismantle your cabinets so you can put everything back together with ease once you’re done.
Take the time to number each cabinet door as you remove it, and store the corresponding hardware in a small bag with the same number.
Neglecting the prep work
If you want to have kitchen cabinets that look faultless and brand new, you are going to have to invest a good amount of time into the preparation stages.
You need to start the process by removing dust, grease, and any other debris. You can do this with a good cleaning solution, designed for cabinetry.
Then, you can start sanding the cabinets to ensure that the paint adheres to the surfaces properly. Make sure that you fill in any cracks or uneven areas with wood filler beforehand, if necessary, and give it sufficient time to dry.
Once it is properly sanded, you can use a damp cloth to remove any dust or debris from the surface as any small particles that aren’t cleaned up can ruin the final look of the paint when applied.
You can also add a coat of primer to seal the surface of the cabinets and ensure the best adhesion of the paint onto this surface.
Applying thick layers of paint
When you are cabinetry painting, the goal is to have a long-lasting paint job that can take the brunt of daily kitchen use.
The best way to ensure that the surface is durable is to create layers of paint. However, this doesn’t mean you should be slathering on thick layers of paint; this is a sure-fire way to make your paint chip off easily.
Instead, you need to build up a durable surface with multiple layers of thin paint.
This is a process that requires patience, as you will have to wait a good amount of time for the paint to dry between coats.
Nevertheless, this will pay off in the long run by leaving you with a sleek and sturdy finish.
Cutting the paint drying short
While your cabinets might be dry to the touch within a few hours, you will still have to wait longer for them to cure properly.
This is because, until the cabinets are fully cured to a hard, durable surface, they will be susceptible to chips and marks.
It is best to wait at least 48 hours before reattaching the cabinet doors and hardware, unless you want to end up going over them again to touch up any messes you make.
Cabinet painting—the more you know, the better
At the end of the day, the more familiar you are with the process and the mistakes associated with cabinet painting, the easier it will be to have your cabinets looking flawless.
This is why having a professional work on your cabinetry is often worth the investment. Not only do they understand how to ensure a great finish and transform the look of your kitchen, but this work will be good enough to last for years to come.
Recent Comments